To replace a connecting rod in an internal combustion engine, it is necessary to disassemble the engine components, remove the faulty connecting rod, and install a new one. This involves removing the cylinder head, the oil pan, the crankshaft, and the piston from the engine block. The replacement process requires a set of specialized tools, and a moderate to advanced level of mechanical expertise. Here’s a detailed guide on how to replace a connecting rod.
Tools and Equipment Needed
Before you begin the process, gather the necessary tools and equipment for the job:
- Socket set and wrenches
- Screwdrivers
- Torque wrench
- Engine hoist or stand
- Piston ring compressor
- Gasket scraper
- Feeler gauges
- Plastigauge or micrometer
- Lubricant
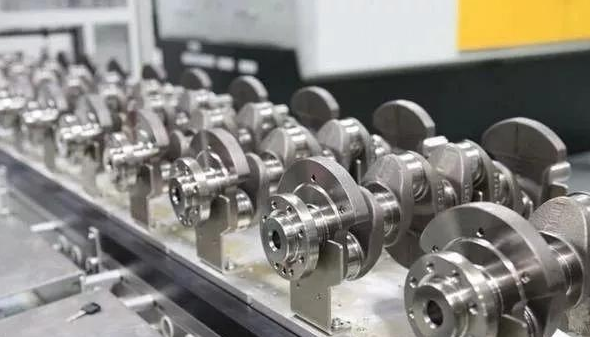
- New connecting rod
- New bearings
- New gaskets
Disassembling the Engine
- Drain the engine oil and coolant, then remove the engine from the vehicle using an engine hoist or stand.
- Take off the cylinder head, followed by the intake manifold, exhaust manifold, and any other related components.
- Turn the engine upside down and remove the oil pan.
Removing the Faulty Connecting Rod
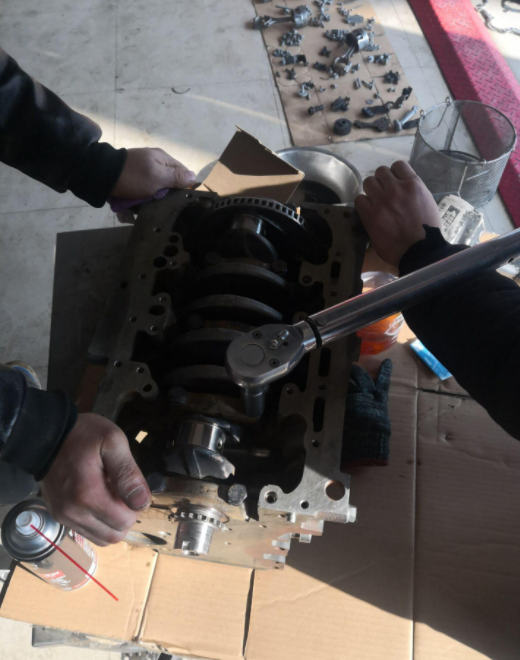
- Unbolt and remove the crankshaft main caps, and then carefully lift the crankshaft out of the engine block.
- Take note of the position and orientation of each connecting rod and piston assembly to ensure proper reassembly later.
- Use a socket wrench to remove the connecting rod cap bolts from the faulty connecting rod, and then separate the cap from the rod.
- Push the piston and connecting rod assembly out of the engine block by applying pressure to the bottom of the rod.

Installing the New Connecting Rod
- Clean the mating surfaces of the new connecting rod and cap with a gasket scraper, and then apply a thin layer of lubricant to the bearing surfaces.
- Use a piston ring compressor to compress the piston rings, and then carefully slide the new connecting rod and piston assembly into the corresponding cylinder bore.
- Align the new connecting rod with the crankshaft journal and install the rod cap, ensuring that the mating surfaces are properly aligned.
- Torque the connecting rod cap bolts to the manufacturer’s specifications using a torque wrench.
- Use plastigauge or a micrometer to verify the proper clearance between the connecting rod bearings and the crankshaft journal.
- Reinstall the crankshaft in the engine block, followed by the main caps. Torque the main cap bolts to the manufacturer’s specifications.
- Reassemble the remaining engine components in the reverse order of disassembly, ensuring that all gaskets are replaced as necessary.
Final Steps
Once the engine has been reassembled, fill it with fresh oil and coolant. Reinstall the engine in the vehicle, and then start the engine to ensure that it is functioning properly. Monitor for any unusual noises or leaks during operation, and make any necessary adjustments as needed.
By following these steps, you should be able to successfully replace a connecting rod in an internal combustion engine.
Replacing a connecting rod involves a series of steps that require mechanical knowledge and expertise. It involves removing the engine, disassembling it to reach the damaged rod, replacing it, and then reassembling everything. Due to the complexity of this process, it is often advised to consult with a professional mechanic.
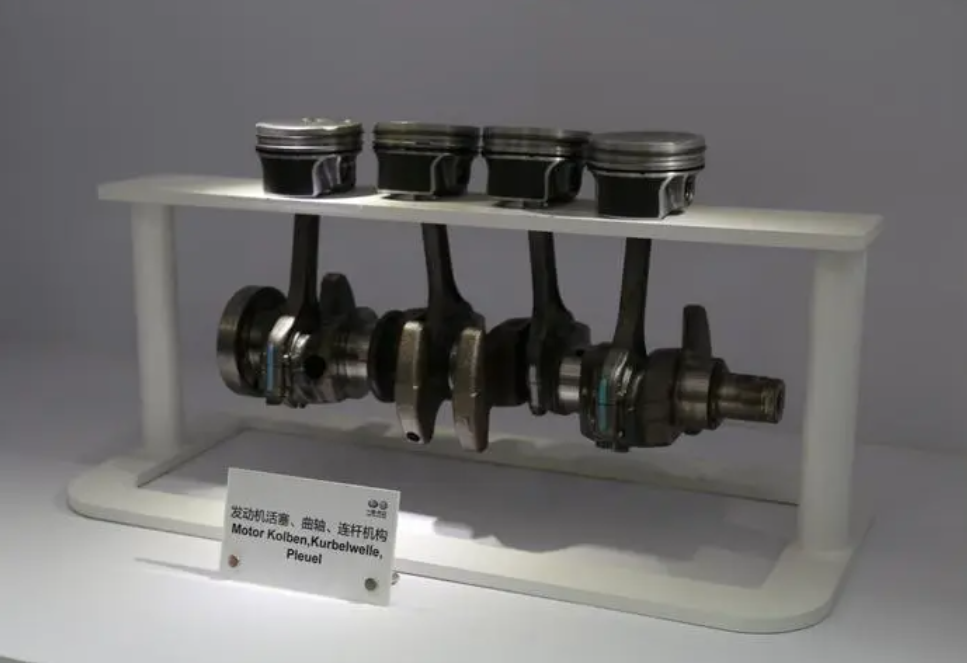
Understanding the Role of the Connecting Rod
The connecting rod plays a crucial role in an engine’s operation. It connects the piston to the crankshaft, transforming the linear motion of the piston into rotary motion. When a connecting rod is damaged, it can significantly impact engine performance, and if left unaddressed, it can lead to severe engine damage.
Assessing the Damage
Before replacing a connecting rod, it’s crucial to assess the extent of the damage. An engine with a faulty connecting rod may exhibit symptoms such as knocking noises, reduction in power, or oil leaks. A comprehensive inspection can help determine whether the connecting rod needs replacement or if the issue lies elsewhere.
Removing and Disassembling the Engine
Removing the engine from the vehicle is the first step towards replacing a connecting rod. Once the engine is safely removed, it needs to be disassembled to reach the connecting rods. This process involves removing components like the intake manifold, cylinder head, and the oil pan.
Replacing the Connecting Rod
After the engine has been disassembled, the faulty connecting rod can be replaced. It’s essential to install the new rod correctly and secure it tightly to ensure optimal performance. Following replacement, it’s often recommended to balance the new rod with the existing ones for smooth operation.
Reassembling the Engine and Final Checks
The engine can be reassembled after the connecting rod has been replaced. This process must be carried out with precision to avoid any misalignment. Once the engine is reassembled, it should be tested for any abnormalities. If no issues are detected, the engine can then be reinstalled in the vehicle.
Replacing a connecting rod is a complex procedure that requires mechanical proficiency and patience. Always consult with a professional if you’re uncertain about any steps to avoid further engine damage. Read more on Engine Repair